
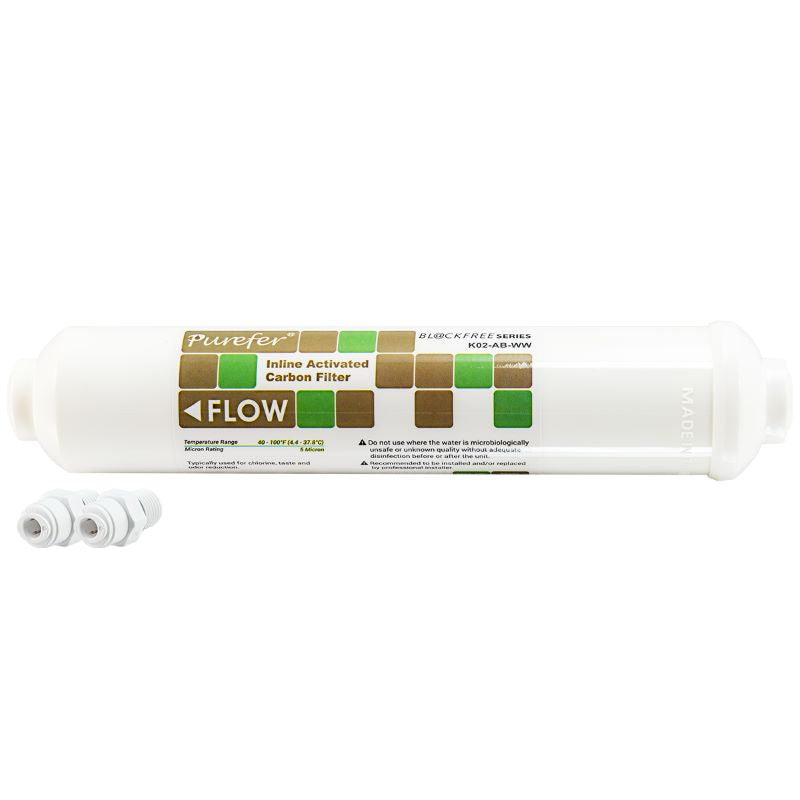
Purefer 10" Inline Acid Washed Carbon 2in1 BLOCKFREE Filter 1/4" Ports + Fittings (GT6-21S)
$27.00
SKU GT6-21S)
An internal polypropylene post filter is inserted into the filter cartridge to prevent carbon fines from escaping. Eliminates “carbon black” from water while protecting the RO membrane and faucet from carbon fines, extending RO membrane and faucet life.
Incorporates bacteria resistant PET pads instead of foam sponges, thus ensuring drinking water stays pure and uncontaminated.
All parts are sealed using advanced friction welding, eliminating the need for glues
Cartridges are filled with 100% coconut shell activated carbon with an iodine number of 1000 for improved chlorine removal efficiency.
Inline Filters and UDF Cartridges are filled with 100% pure coconut shell activated carbon with an iodine number of 1,000 for improved chlorine removal efficiency.
Cartridge body designed to withstand high pressures.
Minimum burst pressure exceeds 500 PSI.
Reduces risk of damage and/or rupture from water hammer.
RO Final Stage Polishing Filter
Refrigerator & Ice Maker Filter
Water Coolers & Fountains
Coffee Makers & Barista Stations
Under Sink Applications
For optimum performance, replace filters every 2,000 gallons or once per year.
Recommended Tools Required:
Inline water filter cartridges are very simple to install and dismantle. As the name suggests, the water flow is inline which means that either end of the cartridge contains a fitting to accommodate tubing. When changing filters in a complex system, we recommend taking a photo of the system from various angles, then one by one, changing the cartridges. This will help you remember the orientation of the filters and the flow direction and may save you time trying to put the filter back together from scratch.